
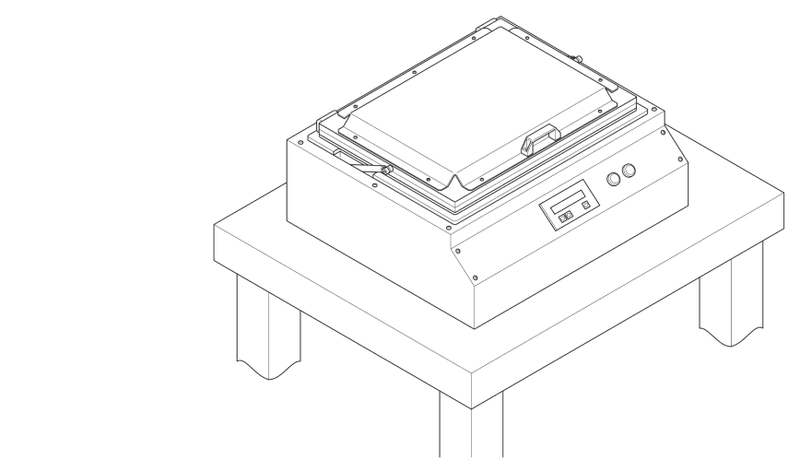
How To Install The SLT
Follow the steps below when installing the Stationary Leak Tester. You can download and print the Quick Start Guide for an easy visual reference throughout the installation process.
How To Install The SLT
Step 1
Connect power and set power switch in upper position.

Step 2
Connect air supply hose (8mm).
Step 3
When the air supply is not sufficient, the machine shows the following message: ‘Airpressure under 4 Bar, at least 4.5 Bar’.
Step 4
Apply the pressure on the machine (Between 6-8 Bar).
Step 5
When the pressure is ‘ok!’ the machine shows the following message: ‘Pressure Ok! Press red for reset’.
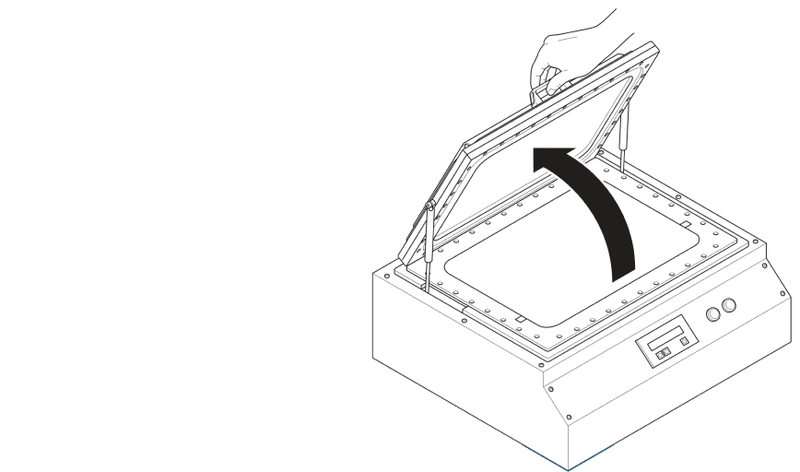
Step 6
Open the lid and ensure that the measuring chamber is empty.
Step 7
Close the lid and press the start (green) button.

Step 8
The machine will start its measuring cycle.
Step 9
An empty chamber test should always result in ‘Pack Ok!’. If not, contact our support team.